DIY Beeswax Wraps: A Sustainable Alternative to Plastic Wrap
Say goodbye to plastic wrap! Learn how to make your own beeswax wraps for a simple and eco-friendly solution.
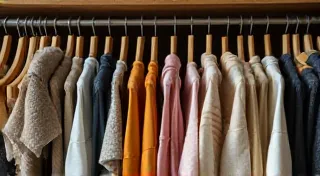
Plastic wrap is a convenience we’re all familiar with, but its environmental impact is significant. It’s often single-use, ends up in landfills, and contributes to microplastic pollution. Luckily, there's a fantastic, reusable alternative: beeswax wraps! These natural wraps are easy to make, biodegradable, and a stylish way to keep your food fresh. Reducing our reliance on single-use plastics is a core tenet of a more sustainable lifestyle, and this project is a great starting point for embracing that change. For those looking for a broader shift, exploring sustainable fashion can be a powerful way to minimize your environmental footprint.
What are Beeswax Wraps?
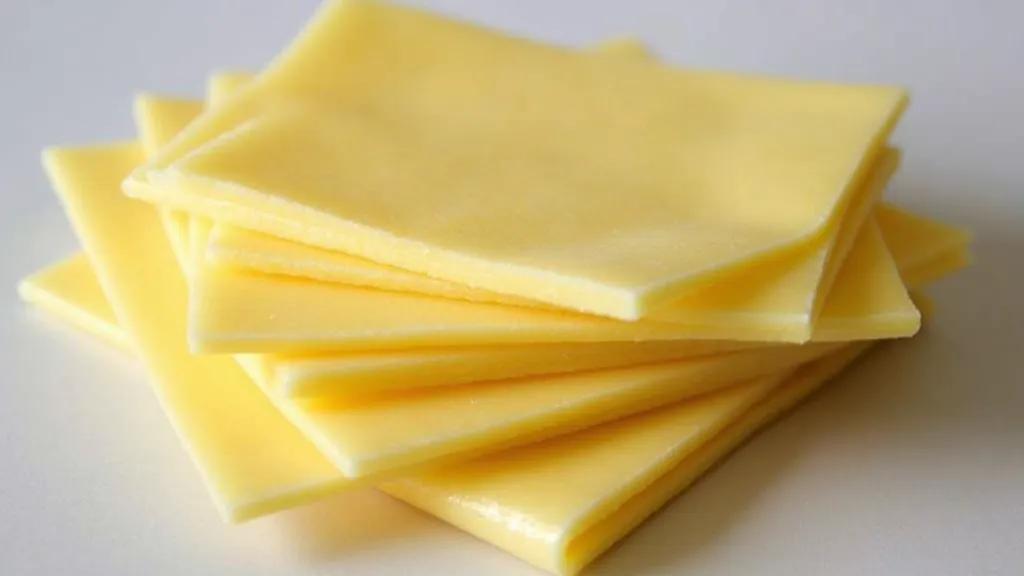
Beeswax wraps are fabric sheets that have been coated with beeswax, resin, and a touch of oil (usually jojoba or coconut oil). The beeswax provides the stickiness, the resin adds elasticity, and the oil keeps the wraps pliable. They are naturally antibacterial and can be used to wrap sandwiches, cheese, fruits, vegetables, and cover bowls.
Materials You'll Need
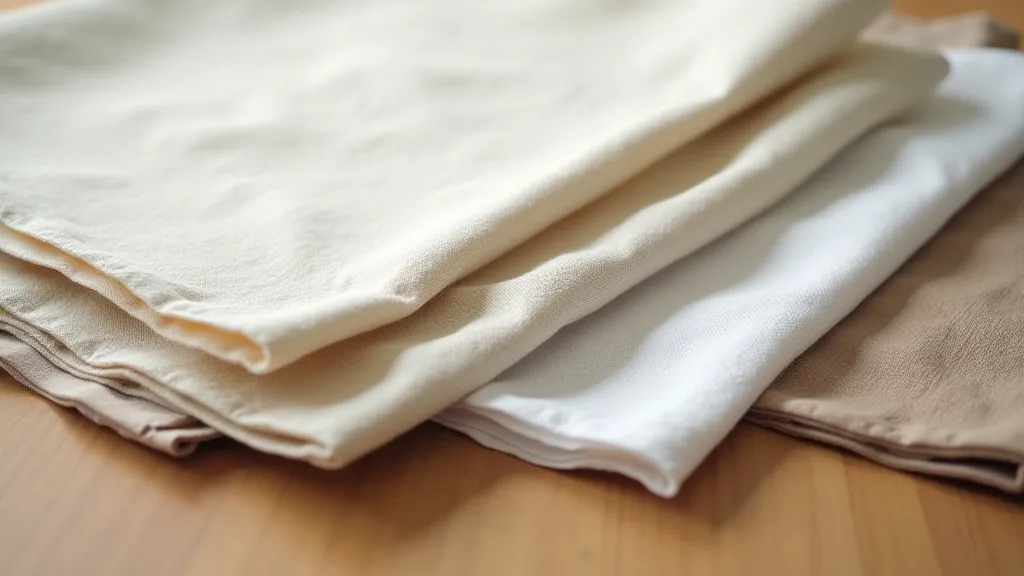
- 100% Cotton Fabric (Organic is a plus!) – Enough for the size wraps you want to make. Think about different sizes to suit your needs (small squares for citrus, larger rectangles for sandwiches).
- Beeswax Pellets or Blocks – Organic beeswax is best.
- Pine Resin (also called Rosin) – This provides stickiness.
- Jojoba Oil or Coconut Oil – For pliability.
- Parchment Paper or Baking Sheet
- Iron (and ironing board)
- Scissors
Step-by-Step Instructions
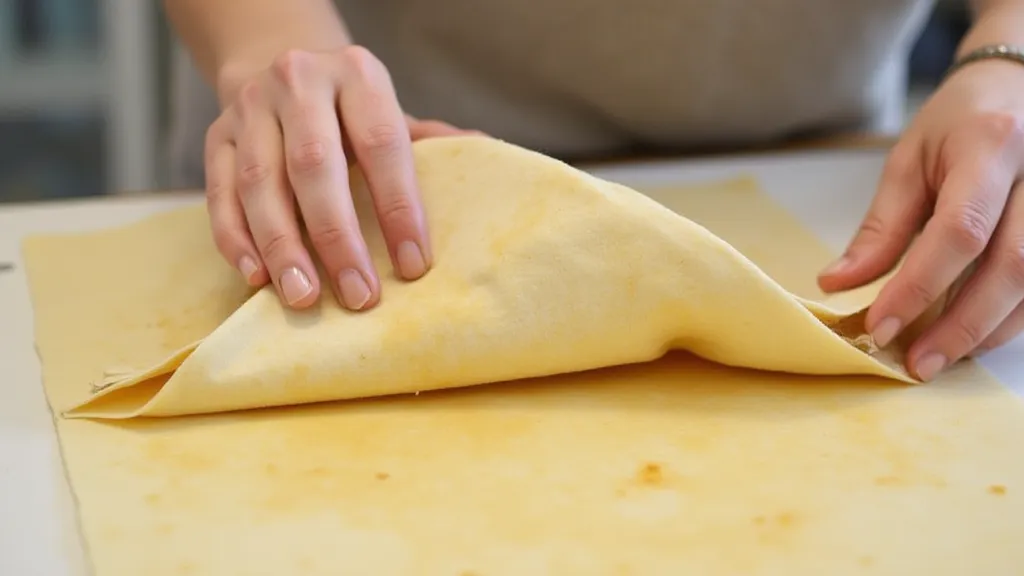
- Prepare the Fabric: Wash and dry your cotton fabric. This helps to remove any sizing and ensures a good seal. Cut the fabric into the desired shapes and sizes. Squares and circles are common choices.
- Combine Ingredients: In a double boiler or heat-safe bowl set over simmering water, melt the beeswax, resin, and oil. A good ratio to start with is roughly 4 parts beeswax, 1 part resin, and 1 part oil. Stir frequently until fully melted and smooth. (Note: Resin can be quite smelly, so ensure good ventilation.)
- Apply the Mixture: Lay a piece of fabric on a sheet of parchment paper. Pour the melted mixture evenly over the fabric. You can use a brush or spatula to spread it thinly and evenly.
- Even Distribution: Place another sheet of parchment paper over the fabric. Gently iron over the top sheet of parchment paper. The heat will melt the mixture and allow it to soak into the fabric. Don't press too hard!
- Cool and Dry: Carefully peel the top sheet of parchment paper away. Place the waxed fabric on a clean, dry surface to cool and harden. You can hang them to dry if you prefer.
- Repeat: Repeat the process for each piece of fabric.
Caring for Your Beeswax Wraps
- Cleaning: Simply wash with cool water and mild soap. Avoid hot water, as it will melt the beeswax.
- Re-Waxing: After several months of use, your wraps may lose some of their stickiness. You can re-wax them by repeating the waxing process.
- Lifespan: With proper care, your beeswax wraps can last for a year or more.
Beyond Beeswax Wraps: Embracing a Minimalist Lifestyle
Creating beeswax wraps is a fantastic entry point into a more sustainable life. However, it's often just one piece of a larger puzzle. Many find that a move towards minimalist living – consciously reducing consumption and focusing on essentials – complements their eco-friendly practices beautifully. It’s about more than just swapping out plastic wrap; it’s about rethinking our relationship with possessions and resources.
Why Choose Beeswax Wraps?
Making your own beeswax wraps is a small change that can have a big impact. It’s a sustainable, cost-effective, and fun DIY project. Reduce your plastic waste, keep your food fresh, and enjoy the satisfaction of creating something useful and eco-friendly! For those concerned about the broader impacts of our consumption habits, examining the true costs of "fast fashion" can be eye-opening. It's a sobering look at the environmental and social consequences of cheap, disposable clothing – a topic explored in detail in the truth about fast fashion.
Embrace the zero-waste lifestyle with this easy and rewarding project. Consider, too, the broader implications of resource usage; even seemingly simple actions like conserving water at home can add up to a significant impact. Resources like water conservation at home provide practical strategies for reducing our environmental footprint.
Happy wrapping!
Tips for Success:
- Fabric Choice: While organic cotton is ideal, any tightly woven, 100% natural fabric will work. Consider using up scraps of fabric you already have to further reduce waste.
- Resin Safety: Pine resin is a natural product, but it does have a strong odor and can be irritating to some individuals. Work in a well-ventilated area and avoid prolonged exposure.
- Wax Distribution: Ensure the wax mixture is distributed evenly to create a strong seal. A thin layer is sufficient; too much wax will make the wraps stiff and difficult to use.
- Ironing Technique: Use a medium heat setting on your iron and avoid pressing too hard. The goal is to melt the wax mixture, not to scorch the fabric.
- Storage: Store your beeswax wraps in a cool, dry place away from direct sunlight or heat.
Troubleshooting:
- Wraps aren't sticky: This could be due to not enough resin in the mixture or insufficient heat during the ironing process. Try adding a bit more resin and re-waxing.
- Wraps are too stiff: You may have used too much wax or not enough oil. Try reducing the amount of wax and adding a bit more jojoba or coconut oil.
- Wraps are cracking: The fabric may be too thin or the wax mixture may be too brittle. Try using a thicker fabric or adding a bit more oil to the mixture.